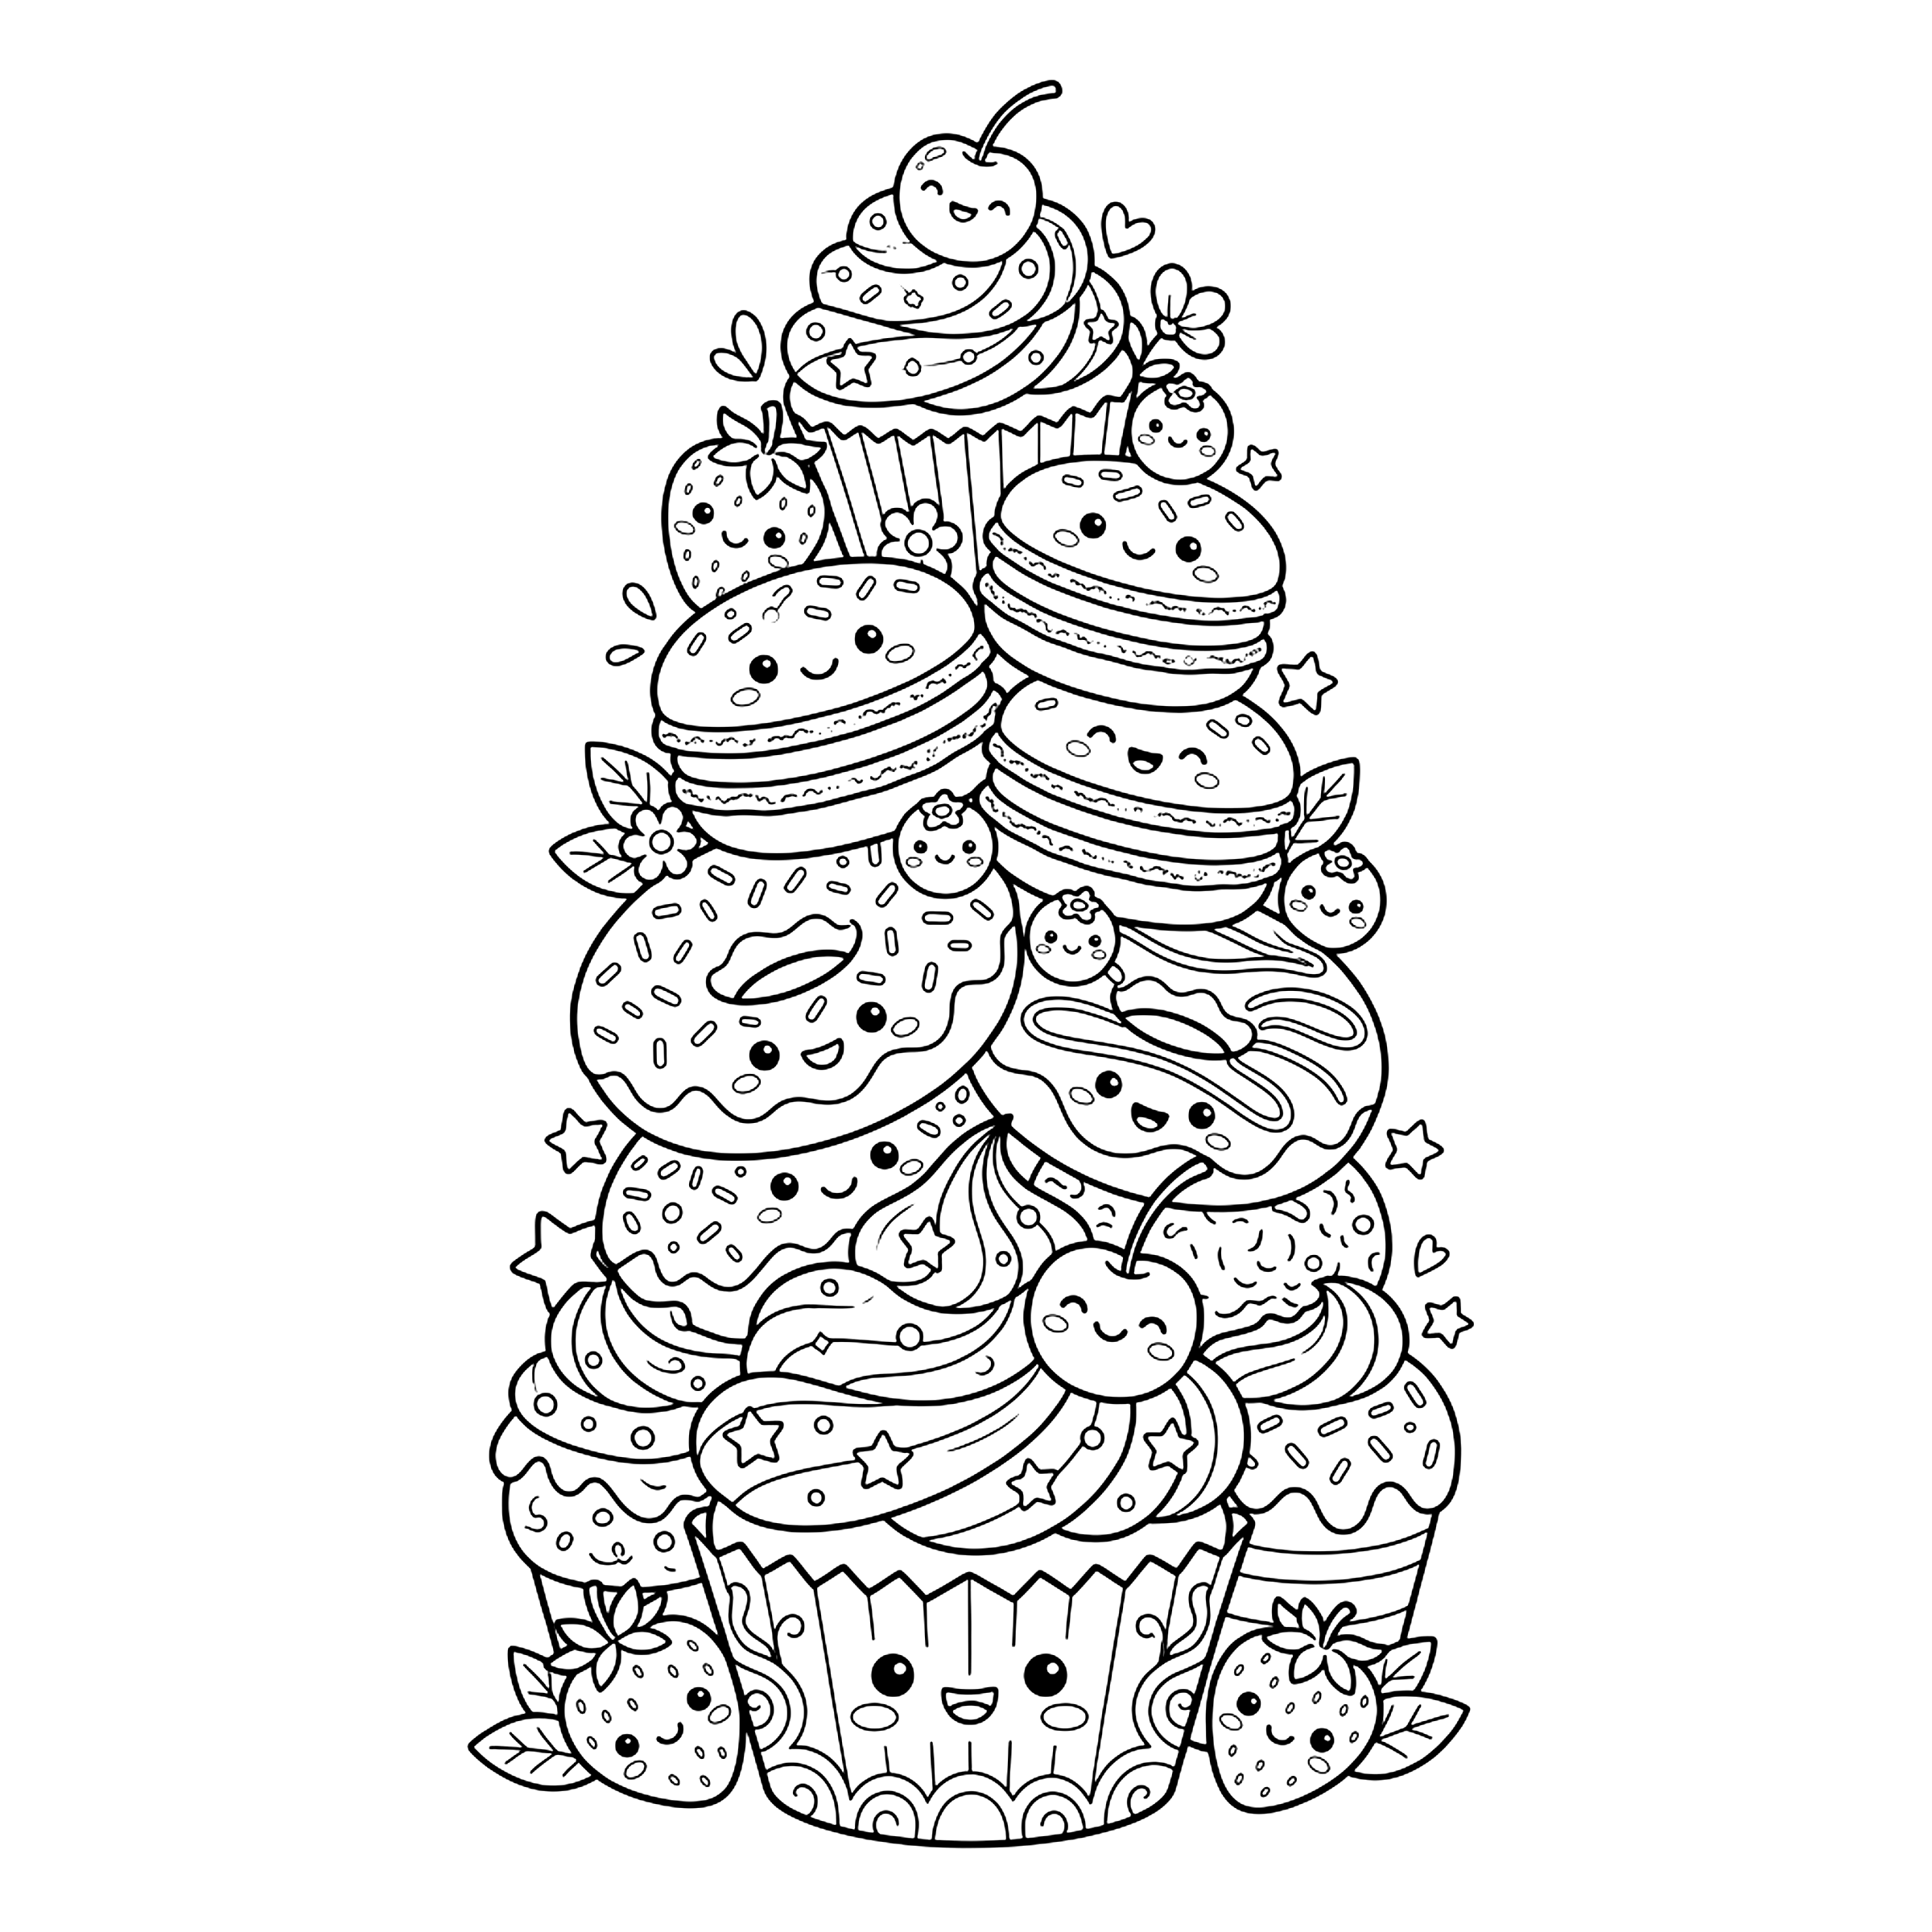
Details of happy toast
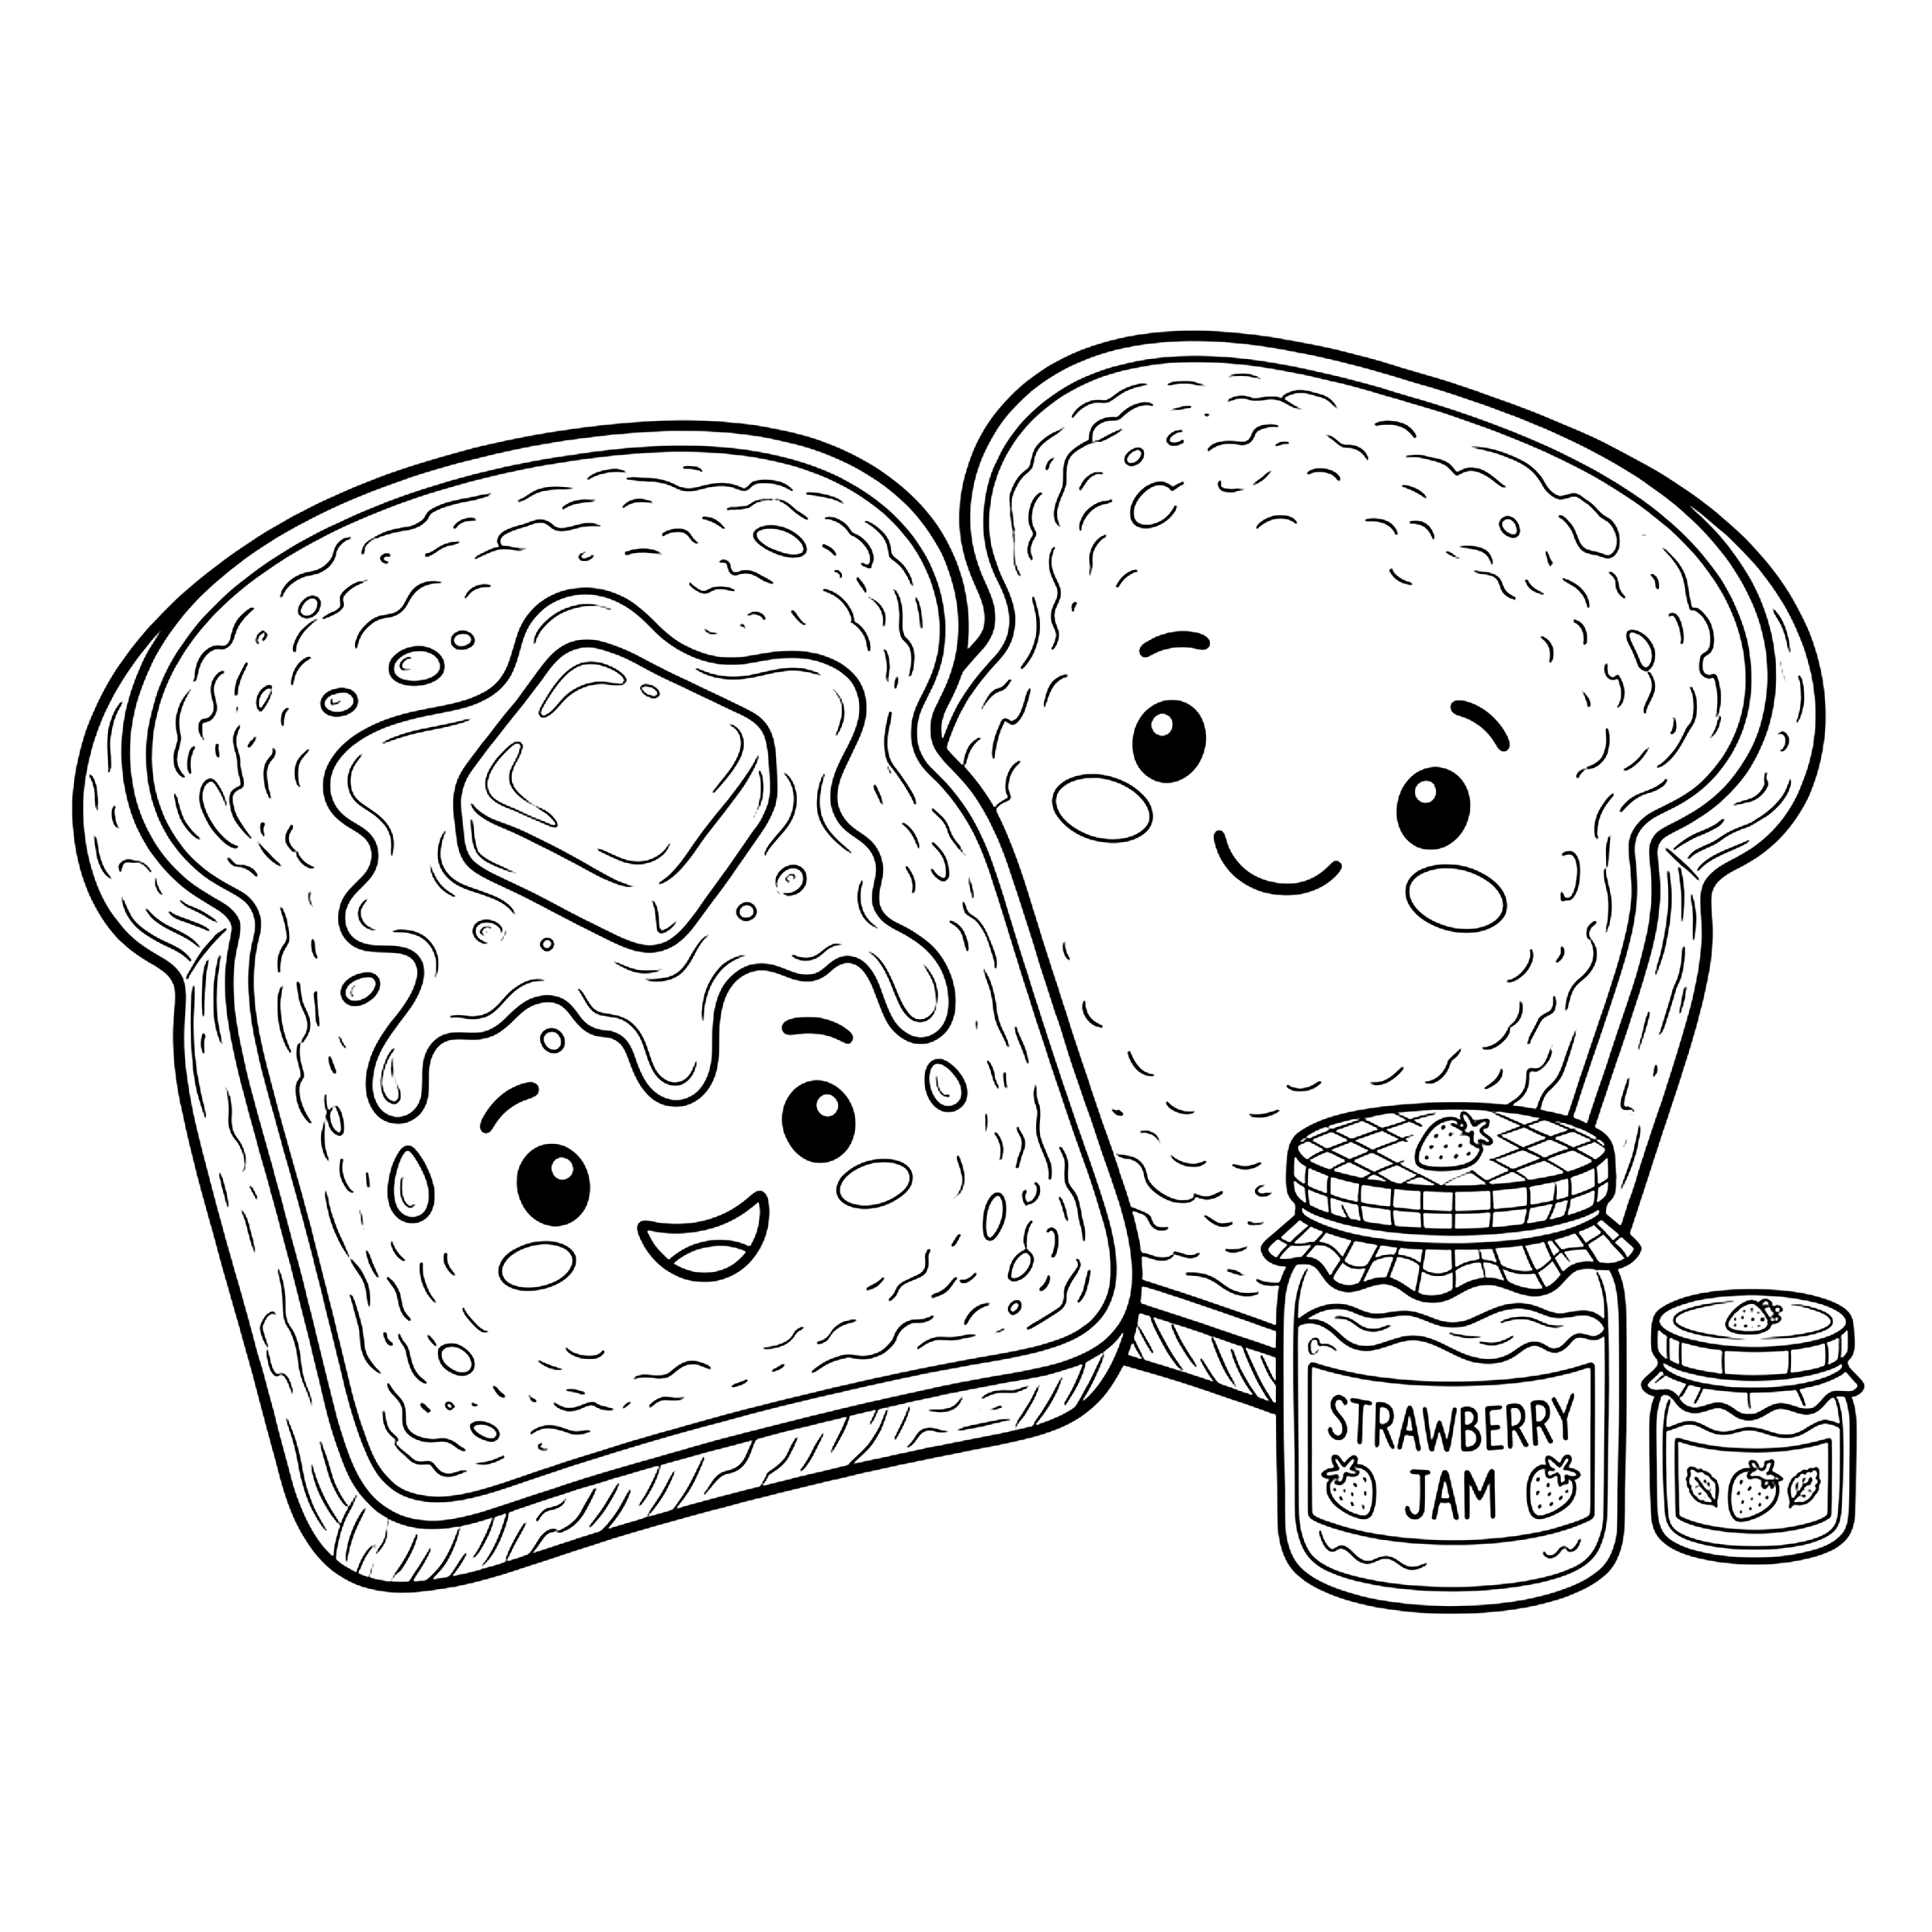
In this sheet the happy toast design sits at the center of the scene, surrounded by two slices with smiling faces, a melting pat of butter, jam jars and small strawberries. In the happy toast design, every element has a firm, even outline, so two slices with smiling faces stands out clearly from the background. The inner spaces of a melting pat of butter in the happy toast design are wide enough for thick markers, while the details of jam jars are perfect for fine-tip pencils. The composition of the happy toast design lets the drawing breathe: around small strawberries there are free areas for shadows, textures or a background of your own invention. That is why the happy toast design works for a calm afternoon of coloring as well as for more careful shading work.
Recommended age for happy toast
This happy toast sheet is designed for ages 5 to 7, although teens and adults looking for a creative break enjoy it too. Beginners can fill two slices with smiling faces in the happy toast design with a single color, while more advanced colorists can blend tones in a melting pat of butter and jam jars. The difficulty is easy, so the happy toast design can be finished in a short session or split across several afternoons. Coloring small strawberries in the happy toast design helps train steady hands, patience and color choice. If you color together as a family, each person can take care of a different part of the happy toast design.
How to print happy toast
To print the happy toast design, open the PDF and choose A4 or Letter depending on your paper. Select 100 percent scale or actual size so two slices with smiling faces is not cut off at the edges. For the happy toast design, standard 80 gram paper is enough for colored pencils and crayons; for markers or watercolors on a melting pat of butter, a 150 to 200 gram paper works better. If you like the happy toast sheet, print several copies and test different palettes on jam jars and small strawberries. The happy toast files are free and you can use them at home or in the classroom.
Color ideas for happy toast
A palette that works very well for the happy toast design is toasted gold, butter yellow and strawberry red. Start with two slices with smiling faces of the happy toast design in toasted gold, and leave a melting pat of butter for butter yellow once the first color is dry. For jam jars in the happy toast design, try a soft gradient: press lightly at the start and add pressure toward the edge. If you want a livelier finish on small strawberries of the happy toast design, combine strawberry red with a thin layer of a darker tone. Remember there are no wrong colors; the happy toast design also looks lovely with an invented palette, and you can decorate the background with dots, lines or stars.
A fun fact about happy toast
Bread browns when toasted through the Maillard reaction, which also creates its aroma. That curiosity makes the happy toast design a good excuse to chat while coloring. You can ask what each person remembers about two slices with smiling faces or invent a short story about a melting pat of butter. Writing down the names of the colors you used on the happy toast sheet is another way to turn the activity into a small vocabulary and observation exercise.