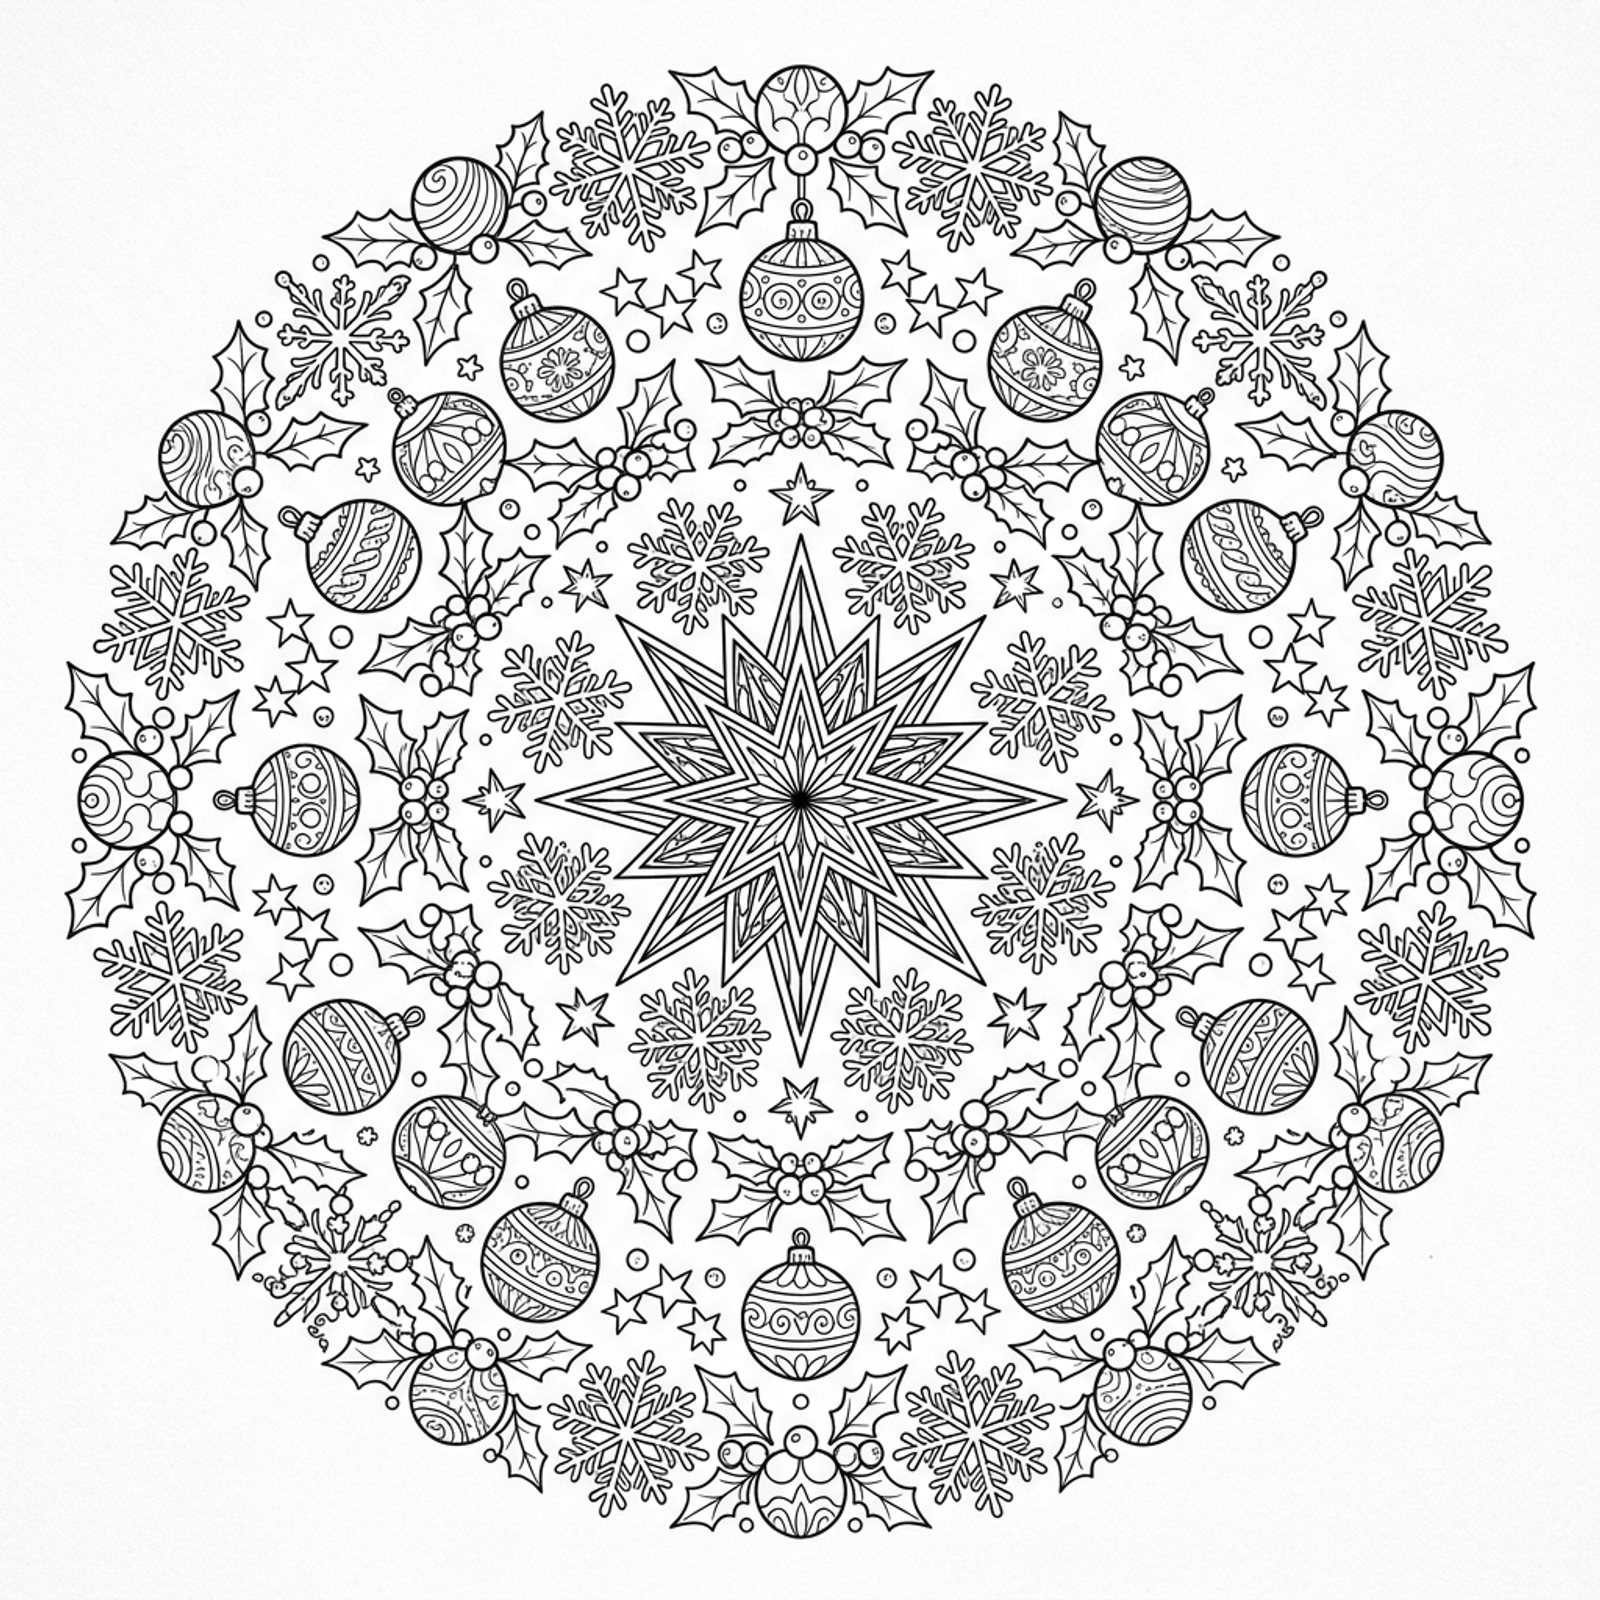
What makes it so demanding
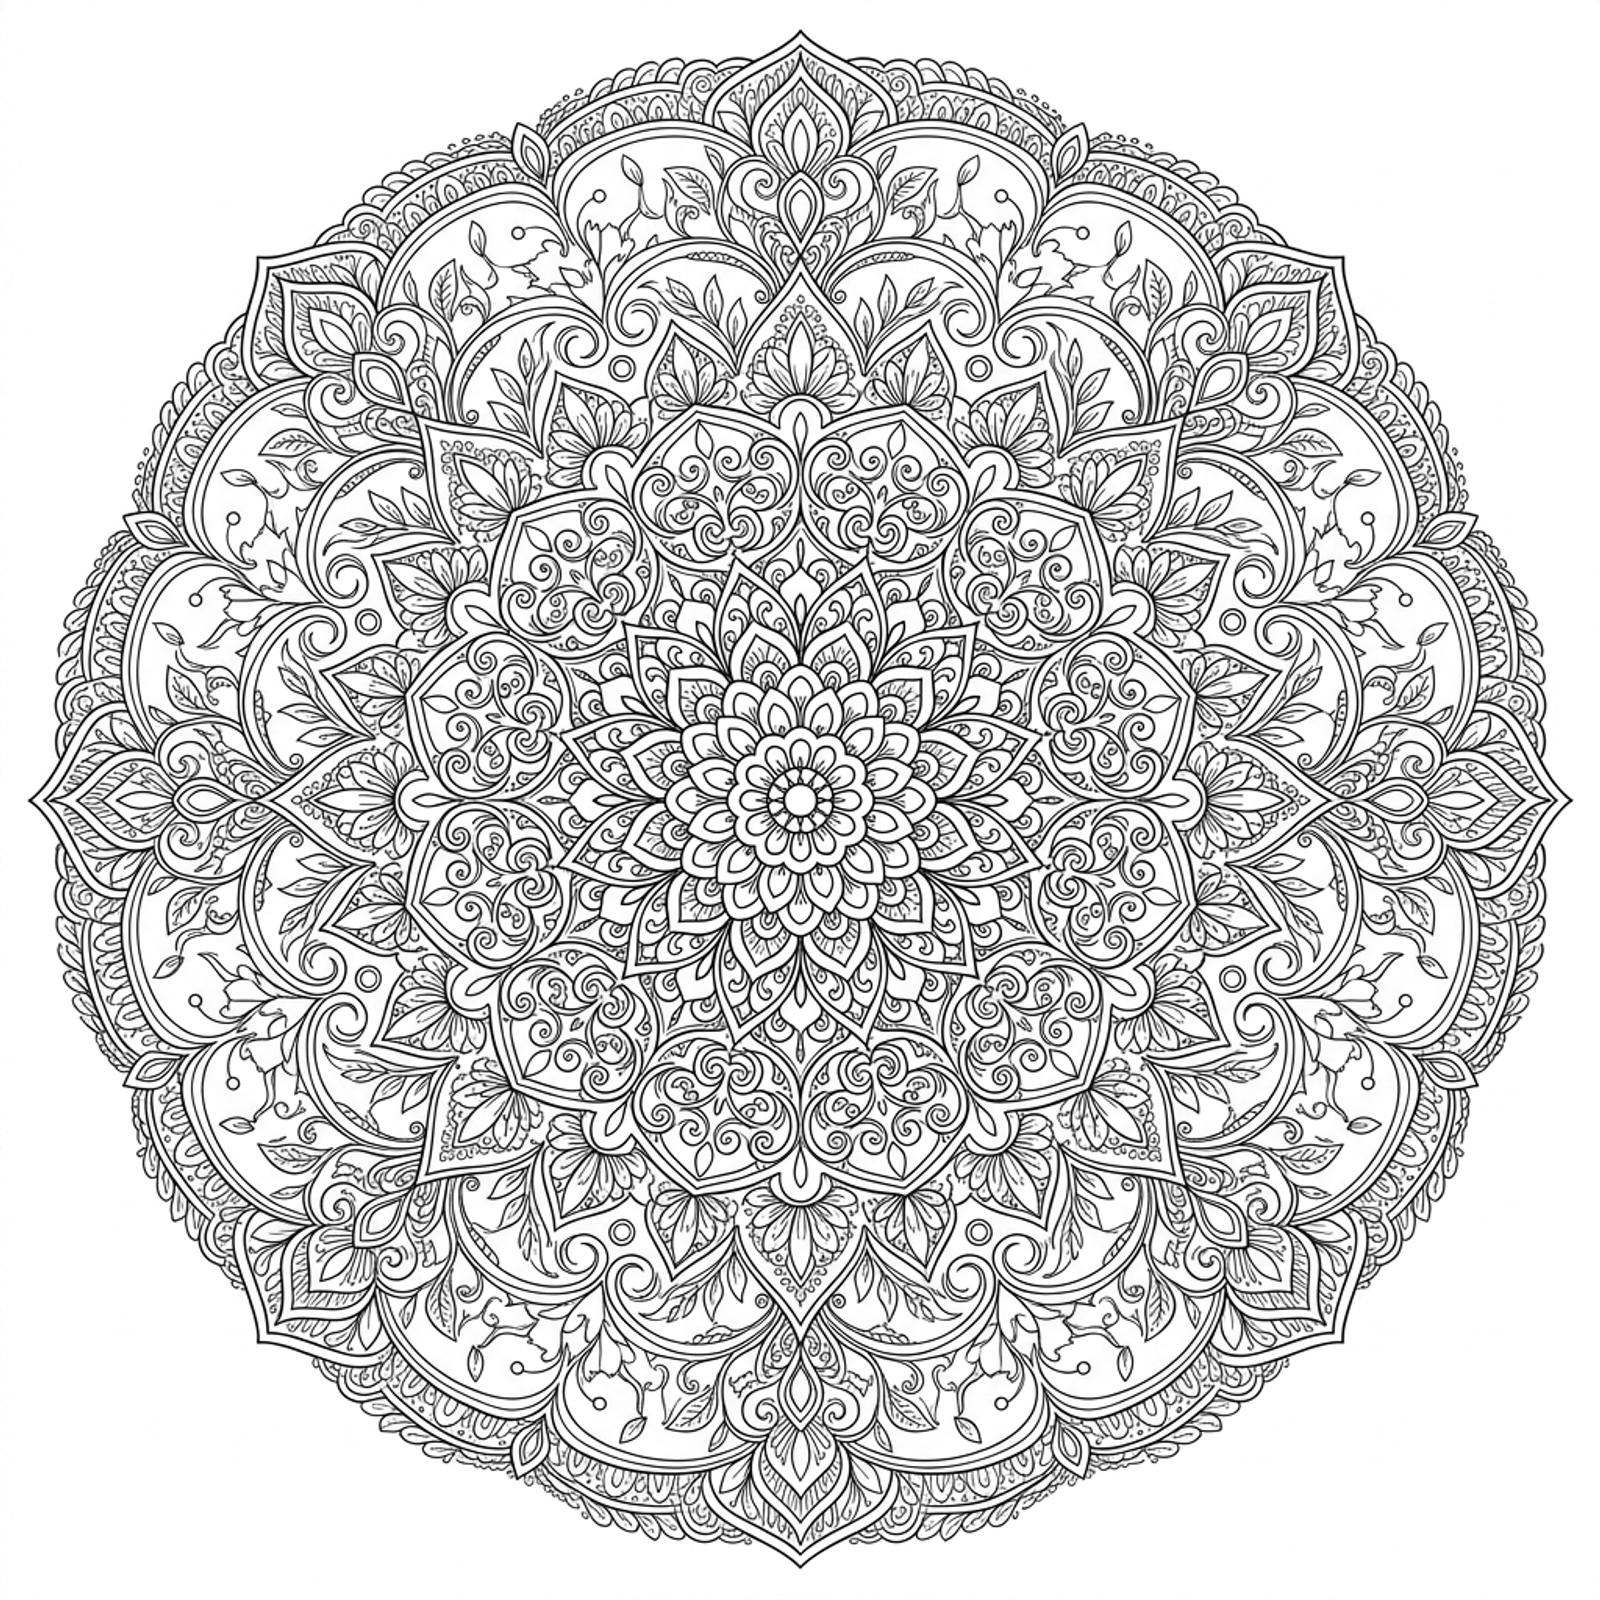
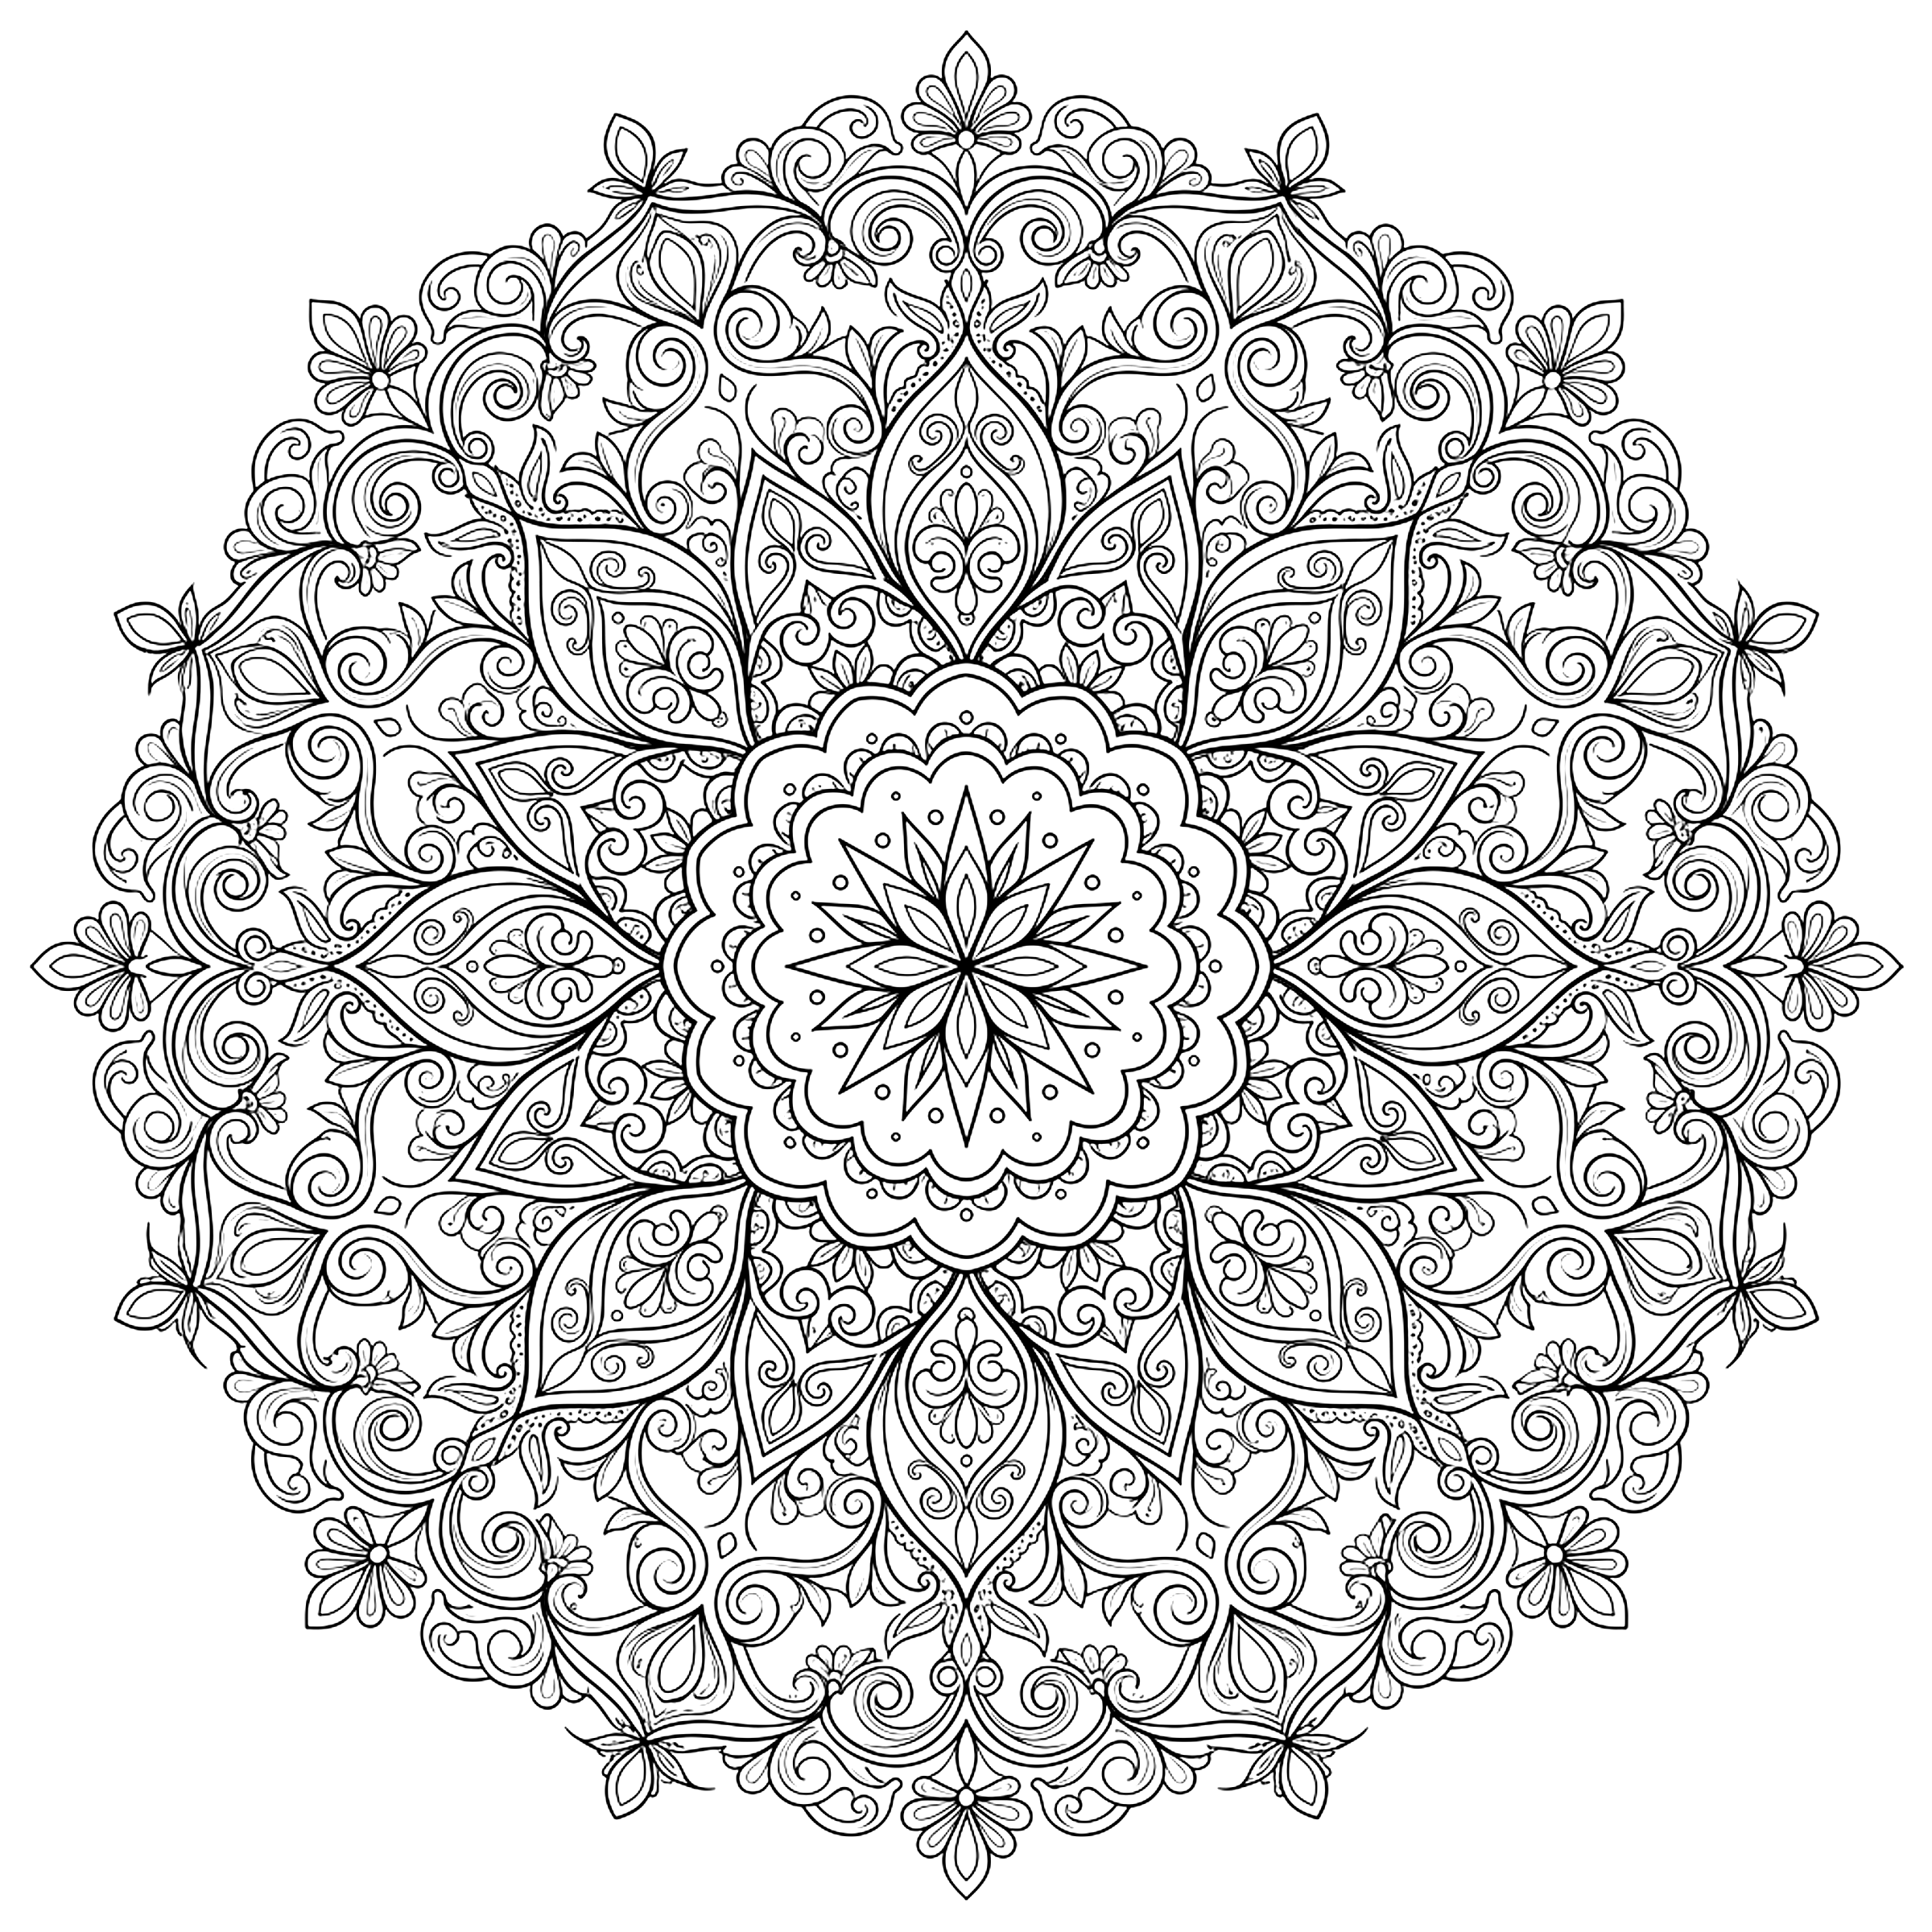
The challenge comes from the number of layers and the size of every gap. Concentric rings follow each other with barely a pause, each carrying its own pattern of leaves, swirls or dots, and many shapes tuck between those of the previous layer. In some stretches a space is only a few millimeters wide. Because the design is symmetrical, every color choice repeats around the circle.
Who will really enjoy it
It is meant for experienced colorists from twelve to fourteen, and also for older teens and adults. You need a steady hand, patience, and the habit of planning colors before starting. If this would be your first mandala, begin with the easy page or the flower, and return here when those start to feel too simple.
The best way to print it
Thin lines vanish in draft mode, so choose the highest quality your printer offers along with smooth paper. Download the Letter or A4 PDF and keep the scale at one hundred percent, since shrinking it would make the spaces even smaller. If your printer struggles with sharpness, try a copy shop, where laser printers draw finer, more precise lines.
How to avoid giving up halfway
Break the mandala into rings and aim to finish one per sitting. Pick a palette of five or six colors and jot it down on a separate sheet so you do not change your mind midway. Work from the edges inward with your hand resting on a clean page, and rest your eyes every twenty minutes by looking at something far away.
A palette trick so you do not get dizzy
With so many rings it is easy to lose track of color. One solution is to assign a shade to each type of shape: all the leaves in greens, all the dots in gold, all the big petals in one violet. Another is to alternate just two palettes between even and odd rings. Make test marks on a spare sheet to see how your pencils look together before you begin, and step back now and then to check that the balance holds.